Set Up a Classroom in 7 Easy Steps
The new school year is almost here! That means new students and maybe a new school or classroom too. If this is your first year teaching, then all of this is new.
One of the most important things you’ll do to prepare for school is set up your classroom. A good classroom setup helps children feel welcomed, sets expectations, and makes it easy to transition from one activity to another.
Setting up a classroom doesn’t have to feel overwhelming. This guide can help you take it one step at a time.
Step 1: Clean Your Classroom
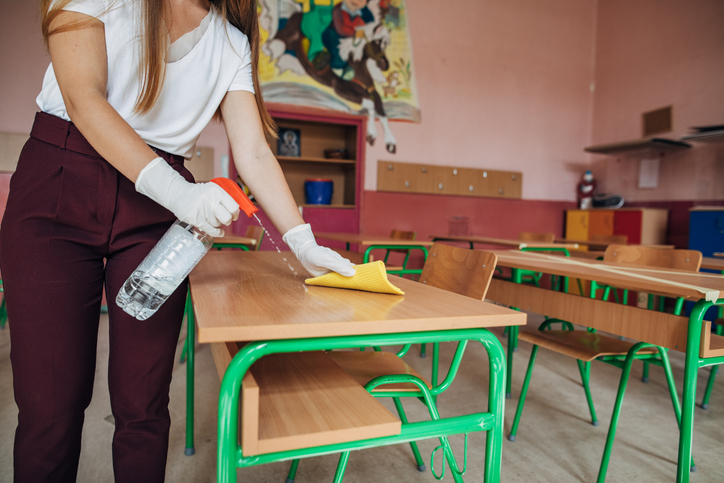
A new year means you can start off with a clean space. Give the walls, desk tops, counters, shelves, and desks a good scrub. You might also want to disinfect everything your students will touch, including toys, books, and pencils to avoid spreading germs.
Cleaning your classroom includes going through what’s in it and throwing out any trash or broken items. Once you have a clean space, you are ready to start setting it up.

Step 2: Create a Layout
Before you haul furniture, books, and supplies into your classroom (or get someone else to do it), decide where everything is going to go. Take out paper and pen and draw a map of your classroom. Include workstations, your desk, computers, and anything else you need room for.
Questions to consider:
How should you arrange student desks?
If you do a lot of collaborative work, you may want to group desks together in small circles so students can easily talk and see each other. If you do more independent work or want to eliminate distractions, consider leaving space between student desks.
What needs to be up front?
Do you have a list of class rules or an outline of daily routines? Those are the kinds of things you want to have in front of your classroom where students can see them.
How much technology will you use?
If you use computers or tablets a lot, place them where students can easily access them. If you only use technology to support traditional teaching, then computers or tablets can go toward the back of the classroom.

Step 3: Decide What You Need
Look through what you have and make a list of what you need to get. If you’re worried about forgetting something, try to mentally go through your work day and think of all the items you use to do your job successfully.
One of the best ways to stay organized is to have cubbies, bins, filing cabinets, labels, etc. Consider adding these items to your list to save you time and hassle in the long run. You already have a million things to keep track of, so why not invest in your sanity and get organizational tools that will make your life easier?
Pro tip: It helps to have different size bins, folders, etc. so you can organize smaller items and not have them get lost in the shuffle.

Step 4: Shop Around
Before you log in to your Amazon account or drive to the nearest Wal-Mart, think about where else you can buy school supplies for a good price. See if someone in your neighborhood is having a yard sale or your community has a Facebook group where people post items they are trying to sell. You may also find supplies at local thrift shops or discount stores.
It doesn’t hurt to ask people if they have secondhand items you can use. Fellow teachers, friends, family, or neighbors may have just what you need and be willing to give them to you for free.
You can also ask for donations on Adopt a Classroom, DonorsChoose, and other websites to help you purchase classroom supplies.
Step 5: Organize Your Classroom
Furniture and Supplies
Once you have all the furniture in place, set up your classroom by organizing your supplies. Think about which items students will use together and how frequently they will need them. Lessons will go a lot smoother if frequently used items are easily accessible and stored close to each other, like having colored pencils close to drawing paper.
Less commonly used items can go up high and near the back of the classroom.
Fragile items should definitely be stored in cupboards or plastic containers and well out of students’ reach.
Class Library
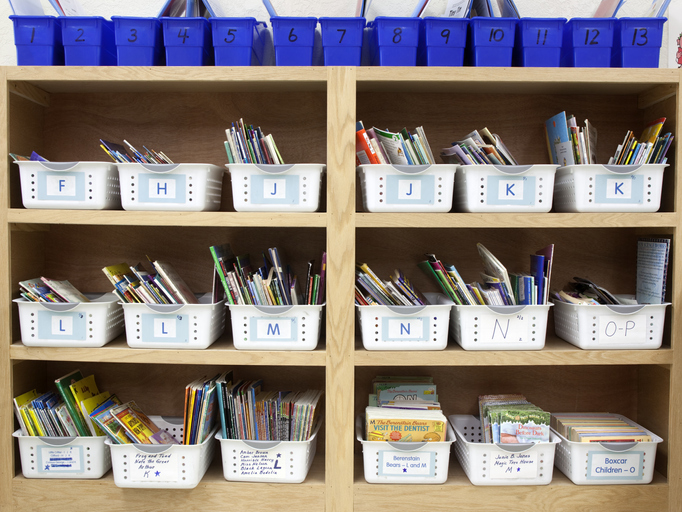
You can organize books by reading level, title, author, subject – whatever makes sense for you and your students. If you are organizing them by reading level, put colored stickers on the binder to make it easy for students to find a book on their reading level.
Paperwork
Come up with a filing system that will help you keep track of all assignments, tests, permission slips, and any other forms you will use during the year. You can organize folders in alphabetical order, by priority, or by student. Create a folder or tab for each category and make sure they are labeled clearly so you can easily read them.
Teacher Desk
When organizing your desk, try not to put too much on top if that will overwhelm you. Instead, make good use of drawers and cupboards. Trays and other organization tools can also make it easier to organize smaller items and spare you future headaches.
Bulletin Boards
If you have multiple bulletin boards, consider dedicating one for seasonal announcements and decorations and leave the rest for evergreen content. That way you only have to change one throughout the year.
Once you have all items put away and stored in their proper place, label everything. Really, everything! Even if you’re great at remembering where things go, labels give your brain one less thing to think about so you have more mental energy for teaching.
Save labeling for last, in case you decide to change your layout at the last minute.
Step 6: Decorate
Students spend a lot of time in your classroom, so why not make your classroom a warm, welcoming place by decorating it with pictures, ribbons, garlands, and other frills. Choose decorations that complement what students will learn in class or pick a classroom theme such as superheroes, world travel, or under the sea.
After you finish decorating, take a look around your classroom to make sure you don’t have too many decorations. If you feel over-stimulated, your students probably will too. Have just the right amount of color to spark students’ interest without distracting them from learning.

Step 7: Create Your Online Classroom
Don’t forget to set up your online classroom and any other software you will use during the school year.
If you are using Studies Weekly Online this year, then you will want to have your virtual classroom set up before school starts. Create your account and add students and publications to your class so you are set to go.
(Read Tips for Teachers New to Studies Weekly Online for more information.)
Final Thoughts
These classroom setup ideas are to help you get started. In the end, there is no right or wrong way to set up a classroom. What matters is that it gives your students a quality learning experience and makes your job easier.
Have fun setting up your classroom and best of luck with the new school year!
Don’t have Studies Weekly Online yet? Get a Quote today!
